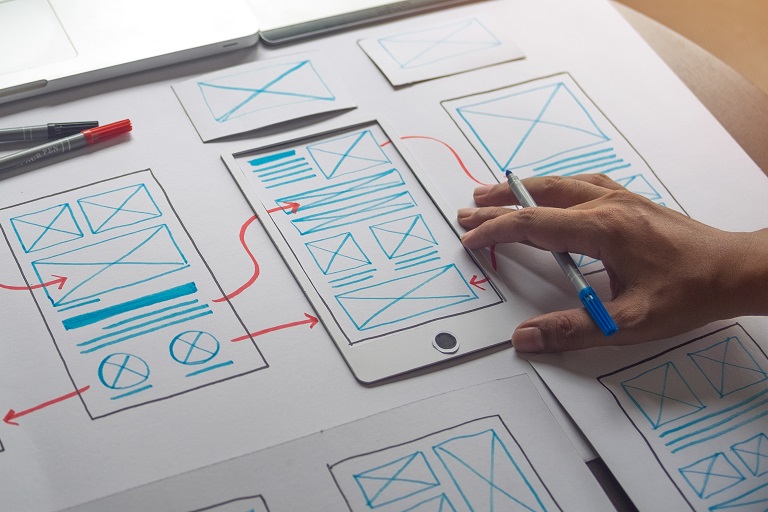
With digital, the only limit is our imagination. I don’t know about you, but my imagination can be pretty wild. If you’re a client, how do you make sure that what you and your agency is imagining will make sense in reality? This is where prototyping is a critical, and often overlooked step, in planning digital content – be they apps, microsites or interactive graphics.
So, what is prototyping and why do we do it? A prototype is essentially a working simulation of your initial product design. You create a visualisation of all the ideas developed through your brainstorming sessions, ideally building in enough detail and interactivity to make it feel ‘real’. This process of visualisation lets you understand many angles. For instance:
- You can experience first-hand how the product behaves, how it feels and how intuitive it is
- It helps the creative and coding team find and resolve usability issues early on
- It acts as a storyboard referencing the various user journeys through your product
- It allows clients to give feedback early on, before costly detailed coding has started
What kind of prototypes are there?
There are several ways to prototype your designs, ranging from what we coders call ‘low fidelity’ to ‘high fidelity’. The level of fidelity is ranked on the level of visual design, content and interactivity. Whether you choose low or high fidelity will come down to a range of factors including; the resources available such as time, budget and skill, and the complexity of the application. There are a lot of tools out there that you can use to build your prototypes and at the most basic you can use paper and pencil. It’s the process as much as the tech that’s key.
Do you need to go hi-fi or low-fi? Here are some things to think about.
Low-fidelity (low-fi)
This is a low-cost, quick and easy method of prototyping your design. Low fidelity typically includes only basic shapes and arrows to visualise the flow. An example could be a series of interconnected pencil sketches or a hyperlinked digital wireframe. Why build a low-fi prototype? As mentioned, its simple to do, low-cost and is useful for outlining the basic sitemap of your product. If your project is very simple and easy to visualise, then low fidelity could be best. Just be aware that the more you leave to the imagination, the more things might unravel later.
High-fidelity (hi-fi)
On the other side of the spectrum you have hi-fi prototypes. These are more detailed and should closely resemble your final product in both appearance and functionality. This includes giving it the fine detail such as the spacing, fonts, imagery, content, interactions and animations. Why build a hi-fi prototype? Well, you are able to identify any issues early on through user testing and it is cheaper to change things in design than in development. Of course, the more hi-fi you go the more investment you make in the prototype itself, but on bigger projects the benefits of creating a high-fidelity prototype outweigh the spend.
What tools are best?
We use a few of tools to build our hi-fi prototypes. These include Sketch, Adobe Illustrator, Origami Studios, Axure RP, Invision and Principle. If you want an extensive list of tools available in the market then look here.
Personally, we enjoy working with Sketch at Wardour. It’s easy to use and comes with an abundance of plug-ins that are useful. For example, Craft has a wonderful sketch plugin where you can build a prototype using real data, which can be more useful than boring lorem ipsum.
If you want to know more about how we can help you create digital experiences that engage audiences, please contact us.
Related insights articles
Stay ahead of the curve
Sign up to our emails

